Best budget-friendly sound recording software
I hear you: you're a small business owner, and you don't want to invest a lot of money into a professional digital audio workstation. You'd like to start with a small budget, and then, if things take off and your podcast gets enough traction, you will be ready to pump more cash into this lead generation source.
Fortunately, there are several sound recording and editing applications that can be downloaded for free, and Audacity is probably the best of them all. So, download the setup package from here, install it, and then run the application. If everything works as expected, you will be greeted with a screen that looks just like the one below.
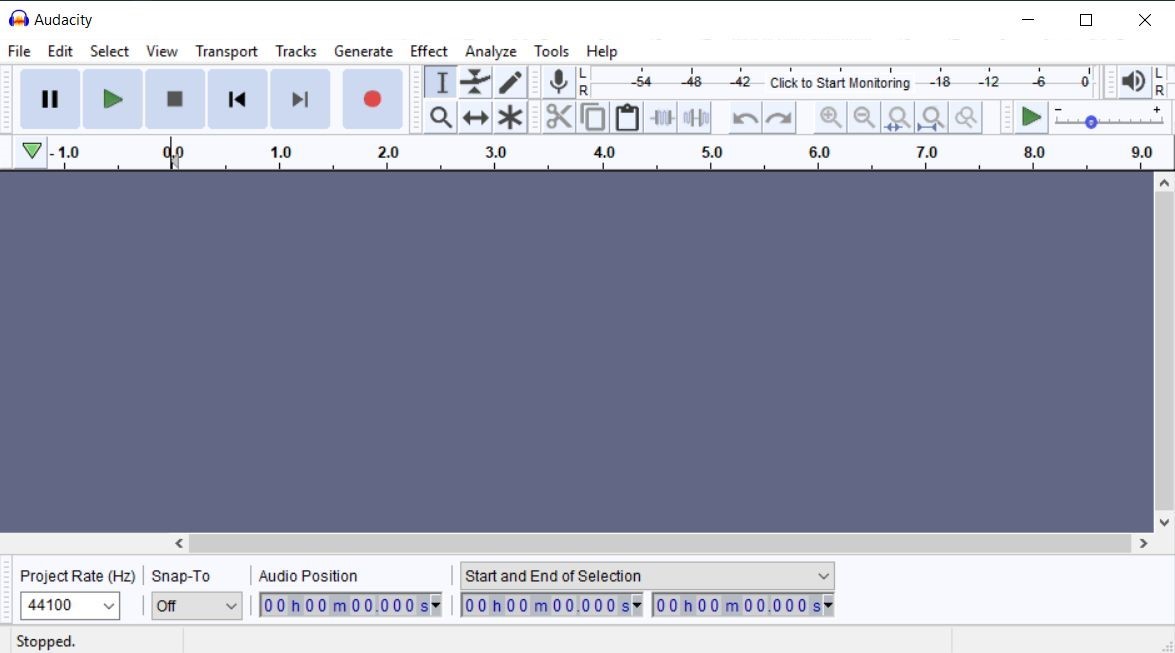
The user interface may look a bit confusing at first, but it's quite easy to use. Choose your recording device from the drop-down toolbar menu; this could be a USB microphone or a sound card, if your mike isn't connected straight to the computer.
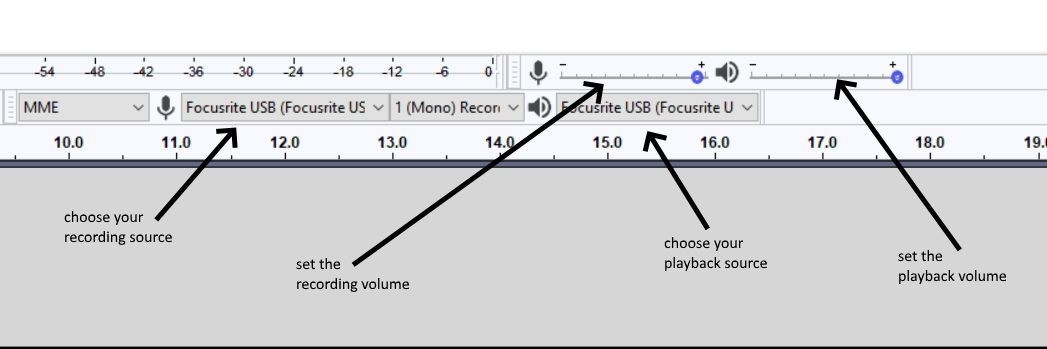
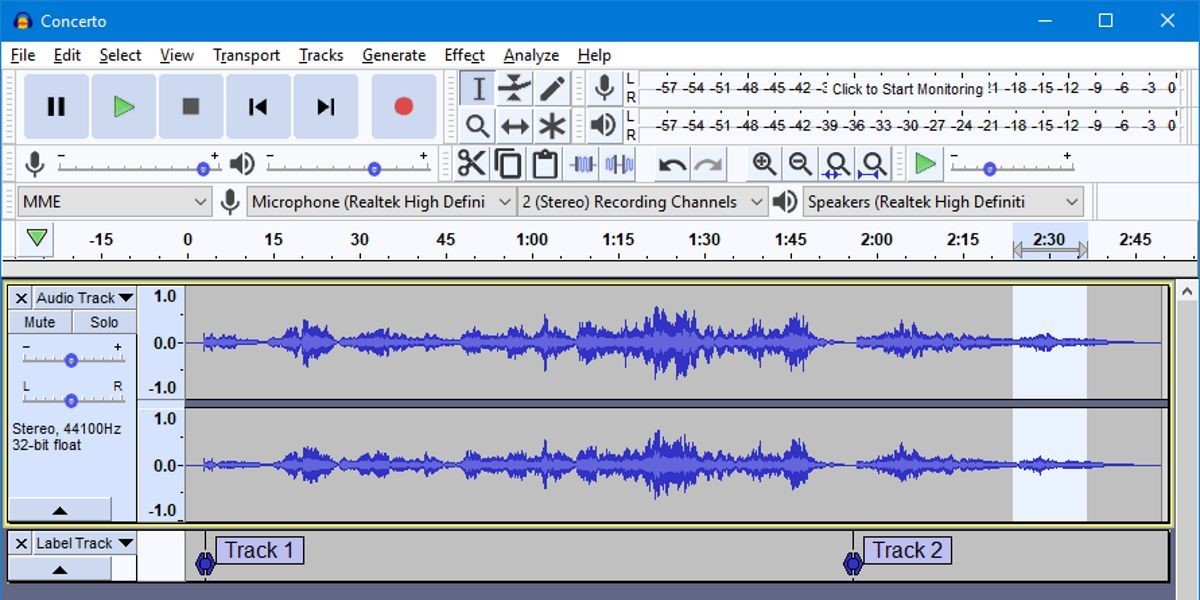
Then, hit the red recording button to get started. Get a little closer to the microphone, and then start talking. Adjust the recording level slider until the displayed sound wave has an amplitude that reaches 0.5 on the vertical (volume) axis. You want to make sure that this value isn't too small, because that would introduce a lot of noise, but it doesn't ever reach 1, because that would lead to distortions. From my experience, the sweet spot is around 50% of the maximum volume (0.5) so it's wise to go with that.
Once that the recording is over, you will probably want to edit it. Audacity allows you to click and drag your mouse over the undesired parts; then, once that they are selected, you can get rid of them for good by simply pressing the Delete key on your keyboard. You can also undo things in case that something goes wrong, of course; simply press Ctrl + Z and your last action will be canceled.
If you are happy with the result of your work, you can export the audio to several formats, such as MP3, OGG or WAV. It's wise to store an uncompressed (WAV) version of the file for yourself, because this format captures the sound at its highest quality. Of course, for distribution purposes, it's best to use MP3 files, which can offer the best size/quality compromise.
Recent Audacity versions have incorporated the Lame MP3 encoder which, due to licensing issues, had to be downloaded separately in the past. This means that you can now export MP3 files straight from the application. Choose one of the preset encoding modes, which provide "Medium" to "Insane" audio quality levels, export the podcast, and then listen to the resulting MP3 file. Or, if you're feeling adventurous, play with the bit rate mode until you are happy with the result of your work.
These are the basics of Audacity. However, if you run a Google search, I guarantee that you will find lots of detailed tutorials on the web. Also, don't ignore the manual, which does a great job explaining the key aspects of this great piece of 100% free software.